Choose crops for a purpose: an order, your shop or a planned experiment. Compare your own yield and cost figures instead of relying on an invented best-crop ranking.
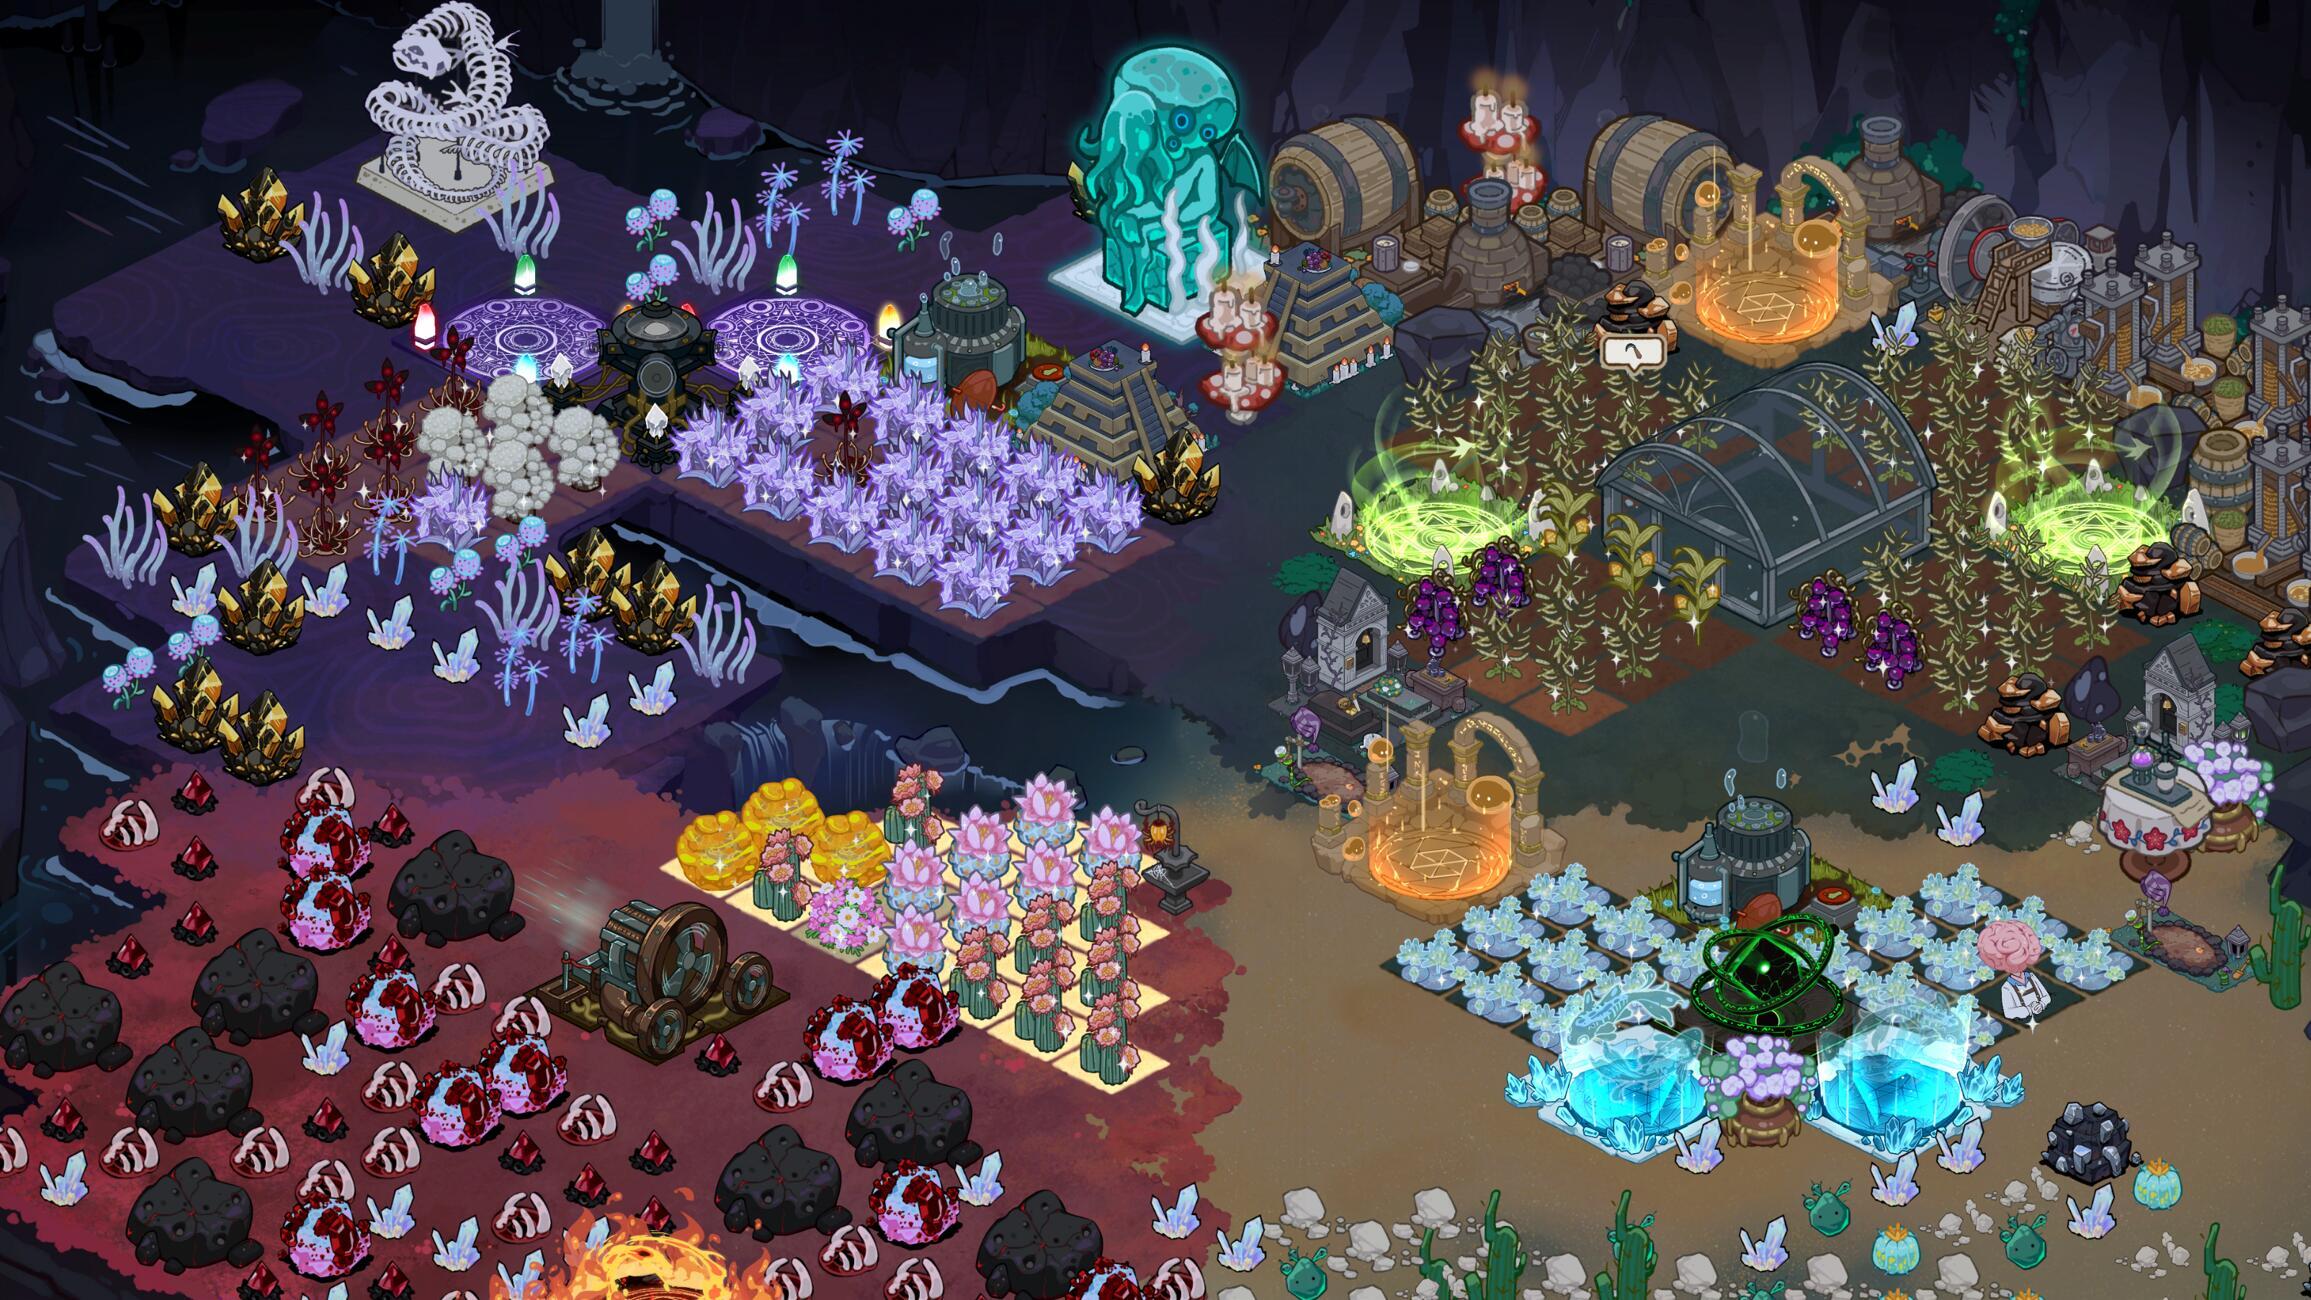
Make each planting solve a problem
The game’s official description promises more than 100 crops and trait experimentation. That is the size of the game’s system, not a claim that this wiki has verified 100 crop records. Our launch edition does not fill that gap with guessed prices or growth times.
For each crop, record the seed cost, harvest yield and expected use. A crop needed for an immediate objective can be more useful than one with a higher listed selling price. Compare spare output separately from reserved quest stock.
A simple comparison you can reproduce
Enter your observed figures into the workshop calculator. Gross revenue is units sold multiplied by price per unit. Subtract the total costs you enter to estimate net proceeds. The calculation does not predict customers, crop modifiers, actual time to sell or future patch changes.
Use the same measurement period for two crops. Comparing one harvest with several harvests makes the result misleading even when the arithmetic is correct.
Verified cultivation milestones
The public achievement list records building 100 plots, producing a crop with all-gold genes, unlocking the underground garden, and expanding that garden one, two and three times. These targets confirm activities you can track; they do not supply the recipe or exact story trigger for reaching them.
Before automating a larger area
Test one area with the intended seeds and a healthy worker assignment. If a warning says seeds are depleted, inspect the planting selection. Keep an experiment note when changing traits so you can distinguish the result of a new crop from the result of a different setup.
Sources & further reading
Last reviewed 2026-09-24.